Easy Drawing of Raccoon Easy Drawing of Fox
Learn how to draw a Fox with this easy step by step tutorial. There's quite a few to choose from!
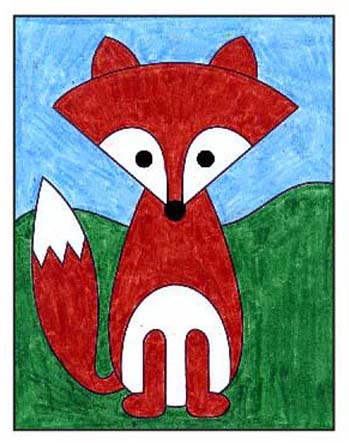
How to Draw a Fox
This easy drawing project was created with a marker and crayons, but the simple shape of the fox makes it a good choice for "messier" media too.
For instance, if you wanted students to try out oil pastels, maybe for the first time, it's good start with a drawing project that has VERY little detail. The smudges that come from pastels will create great color and texture, but smaller details will get lost and can be frustrating. It's best just to keep things big and basic.
My tip for an oil pastel drawing that really pops off the page, if you do to that route? Have students draw in pencil, color the shapes in, and lastly trace over the drawing with a black pastel. They'll have a more defined look, which always adds some interest to their art.
Use Button below to Download a PDF Tutorial
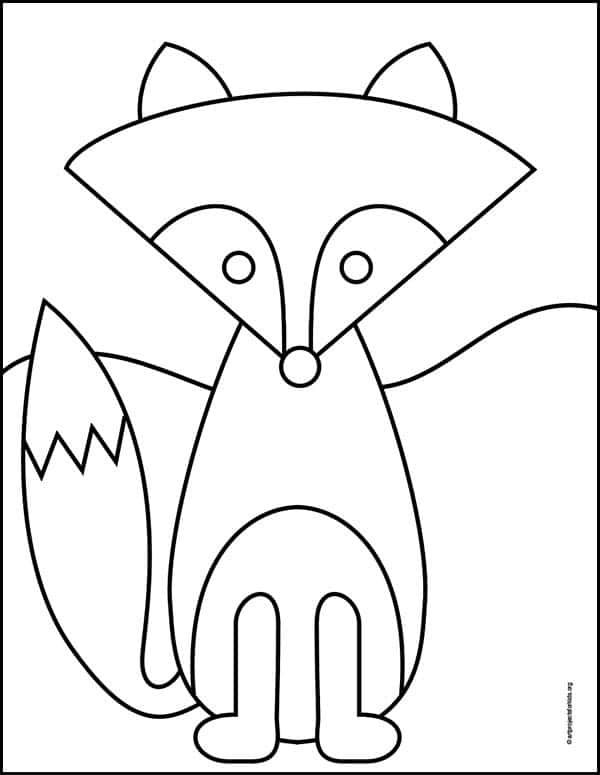
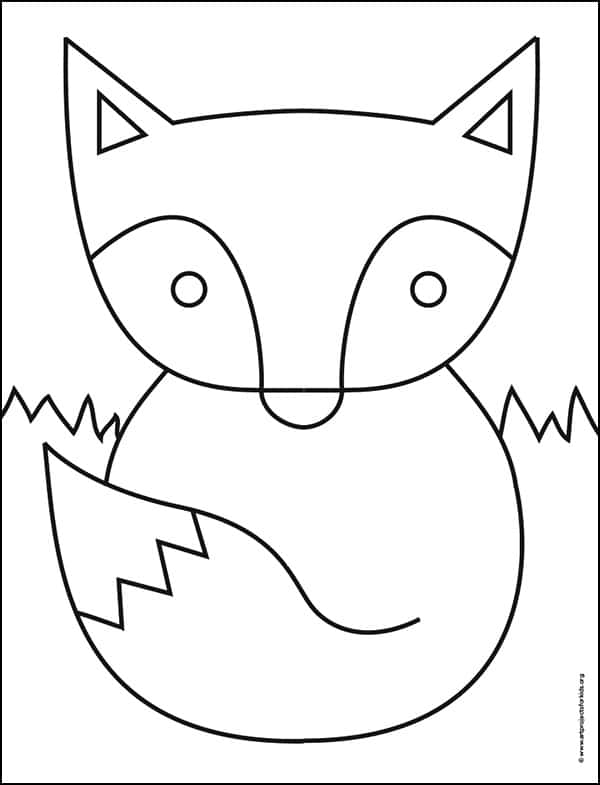
Simple Fox Coloring Page
Materials for How to Draw a Simple Fox

- Black Sharpie Marker (affiliate link)
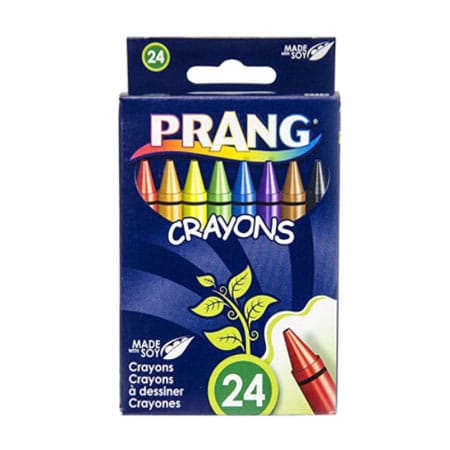
- Prang Crayons (affiliate link)
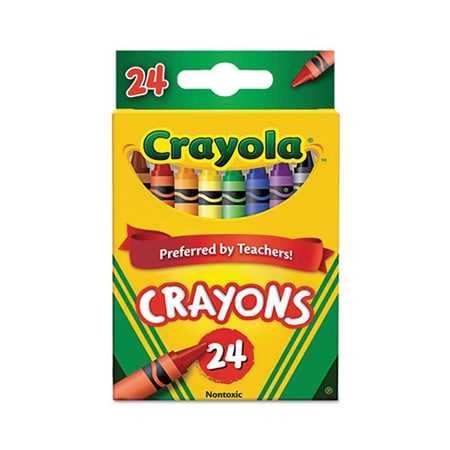
- Crayola Crayons (affiliate link)
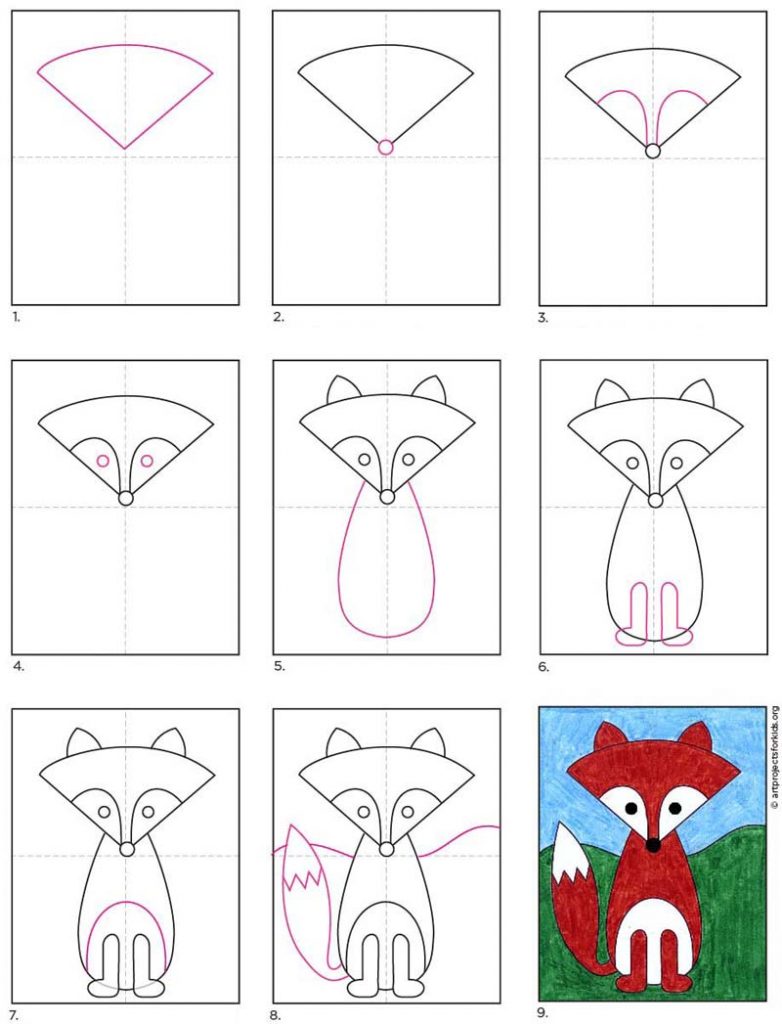
Step by Step Directions for How to Draw a Simple Fox
Time needed:30 minutes.
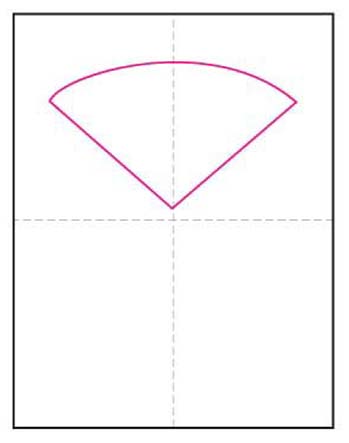
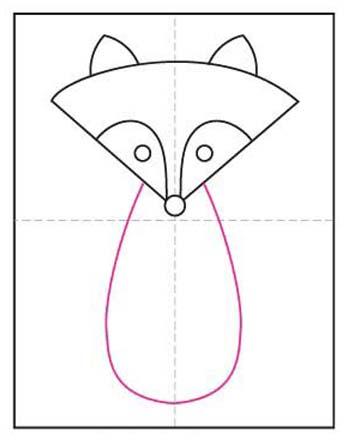
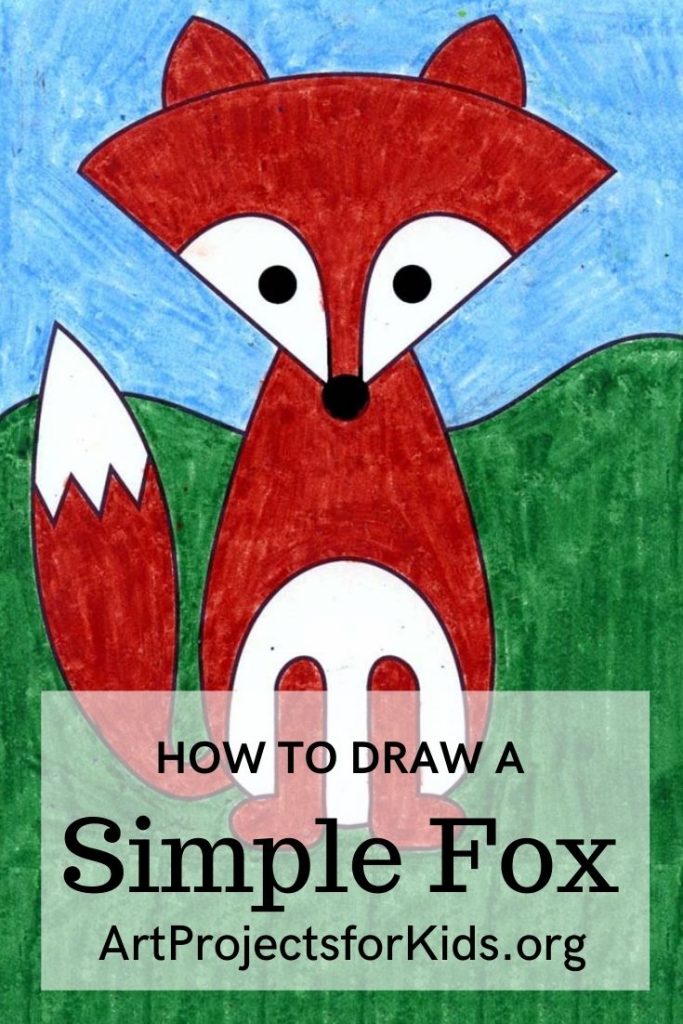
How to Draw a Simple Fox
- Draw the head.
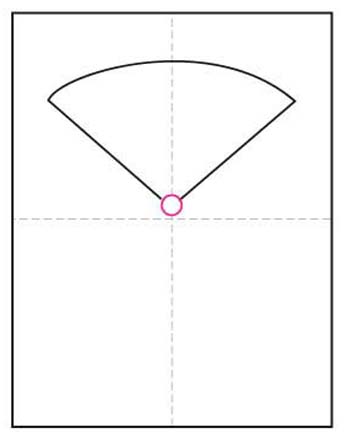
- Add a small circle nose.
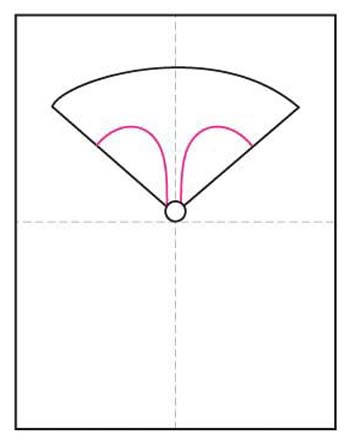
- Draw two brow lines as shown.
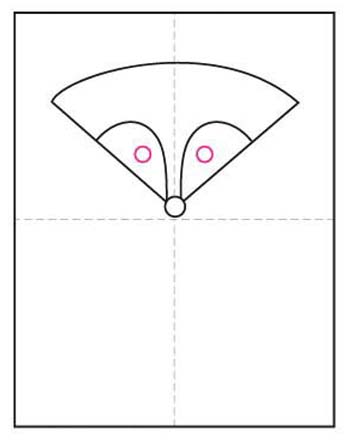
- Add two circle eyes.
- Draw the body shape.
- Add L shaped front legs.
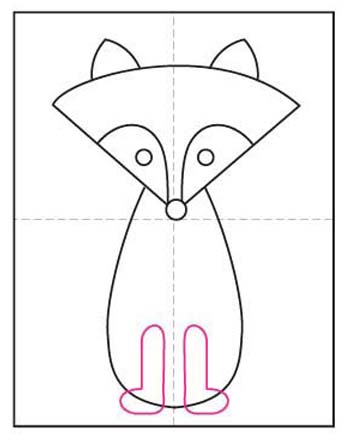
- Draw the belly line around them.
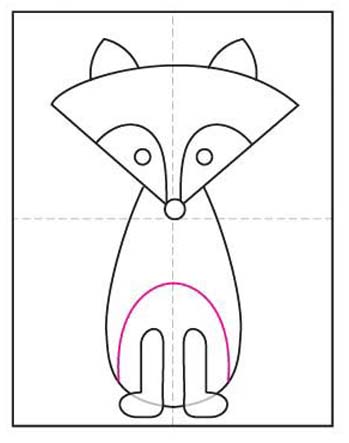
- Add a tail and grass line.
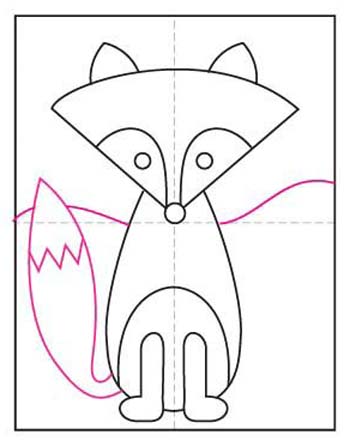
- Trace with marker and color.
Pin me to your Pinterest Board
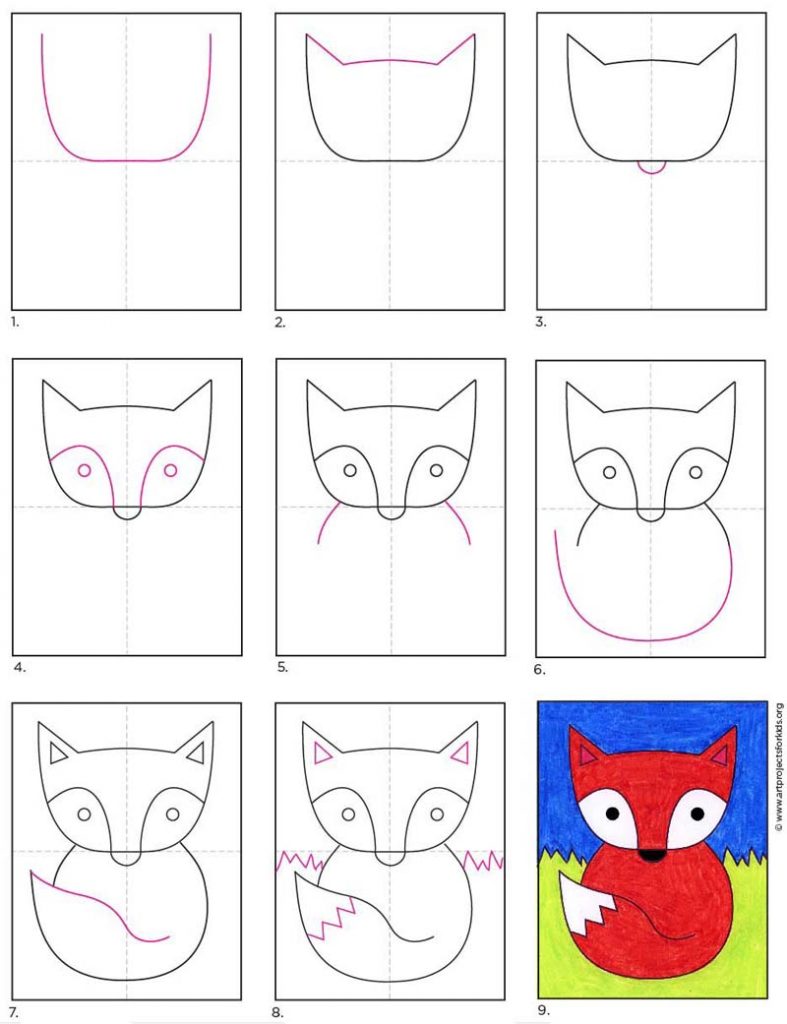
How to Draw a Baby Fox
When you find a way to draw an animal that is super easy, yet it keeps all the recognizable features of that animal, you store it away in your "keeper" file, and try it with all kinds of different media.
This baby fox drawing, which was inspired by some simple clip art I think, has all those qualities. It used to be a staple with kinders when I was still working in the classroom. Telling students to "draw a large U at the top of their paper" and so on, is something they could understand and makes the rest of the drawing kind of fall into place.
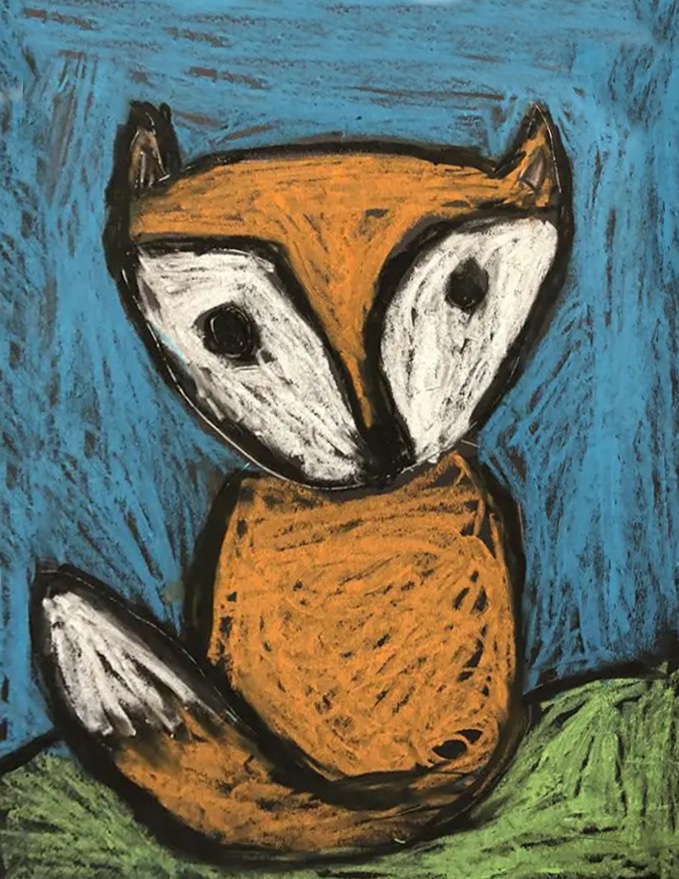
Super simple drawings are great for young ones, of course, but they also lend themselves to messier media too. Oil pastels, which generally create much thicker and smudgier lines, can really shine here. Their rough quality makes them look rather textured, which is perfect for the coat of a furry animal.
My tutorial shows how to draw and color this baby fox with crayons, but if you do decide to use oil pastels, here are two tips I would add.
- Use black card stock paper if you can. It's easier to draw on, you can see the lines better, and will be much darker than some black construction paper that tends to gets fuzzy and fade too fast.
- Advise students to trace their drawing again with a black pastel, after all the coloring is done. It will make those shapes pop out and make the black lines thicker too. They all add up to a very bold and rustic looking drawing!
Use Button below to Download a PDF Tutorial
Baby Fox Coloring Page
Materials for a Baby Fox Drawing
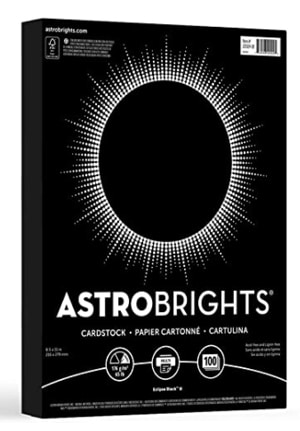
- Black Card Stock Paper. This brand always served me well, and at a good price. It works well as both a drawing and mounting paper too. A rich black color always adds so much to a work of art.
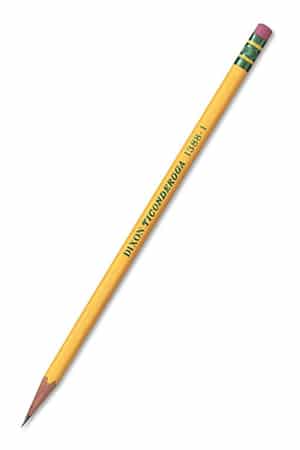
- Pencil. The Ticonderoga brand are the most reliable, make nice dark lines when you need them, and are the easiest to erase. Buying the pre-sharpened ones will save busy teachers a lot of time.
- Eraser. Large ones you can hold in your hand do a much better job than just the pencil tip erasers, especially when erasing leftover pencil lines after tracing.
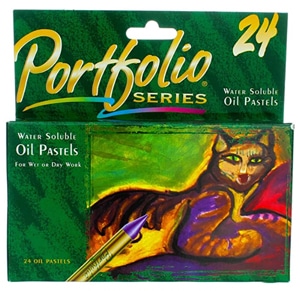
- Oil Pastels. This brand is my favorite for projects like this as the colors are soft and yet they really stand out against a black background. A bonus is that is has THE most perfect rust color too!
Source: https://artprojectsforkids.org/how-to-draw-a-simple-fox/
0 Response to "Easy Drawing of Raccoon Easy Drawing of Fox"
Post a Comment